

Woo Hoo – Happy Day, a dog is getting adopted!!! Remember the olden days (or maybe even the current days) when you had to print the contract, fill it in, send it to the adopter (and hope they didn’t lose it), then gather all the other documents? Well, celebration is in order – enter the Buzz Contract module — no more of that tedious, time-consuming stuff – and you can save a few trees in the process!
So how to use the new, handy-dandy automated contract you ask? Well, it’s easy and only involves pushing a few buttons! The hardest part is figuring out what to do with the 30 minutes you are saving – Change the bedding? Do the dishes? NO, I think play with the dogs sounds good!
So, let’s save you some time – there are two ways to do this:
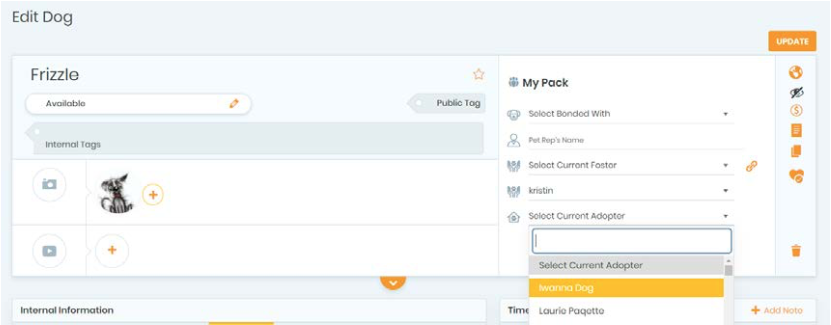
From the Dog’s Page
- From the dog’s page, Select the Current Adopter from the list of your approved applications.
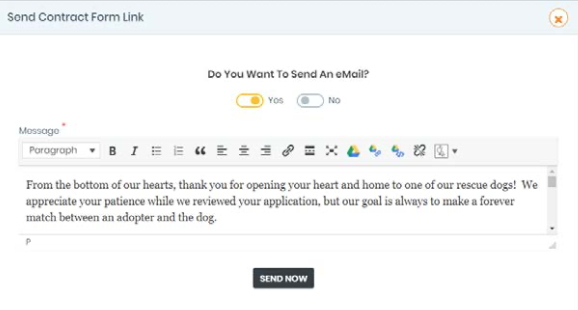
- A pop-up window will appear asking if you want to send the contract. Click send now and the website wizards will compile the contract and send it winging on its way to the adopter, along with whatever email message you have crafted.
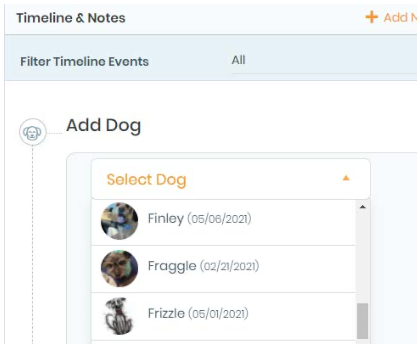
From the Adopter’s Page
- On the applicant’s Time Line, you will see an Add Dog section where you can select the dog you want to adopt out from the drop-down box of available dogs.
- Once selected, the dog’s profile blurb will appear just to make sure you have the right dog and for future reference. If you scroll down past that just a bit, you will see the Send Contract buttons. If you hit yes, then the email crafted by your admin will appear (you can make any changes you want).
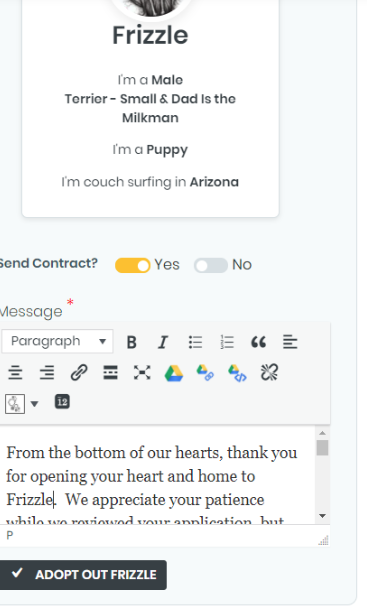
If all is well and good in the world, once you click the Adopt Out [Name of Dog] button, the contract will go winging its way to the adopter!
Flow is the Same Now From Here on Out
- Back on the dog’s page, the Timeline will show that the contract has been sent to the adopter and is awaiting signature.
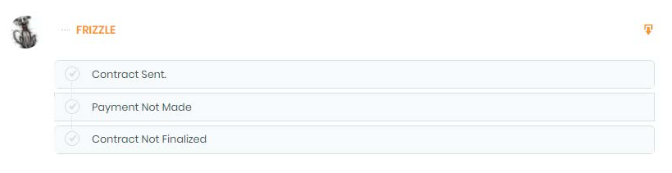
- On the Adopter’s page, under Internal Information, the following will appear:
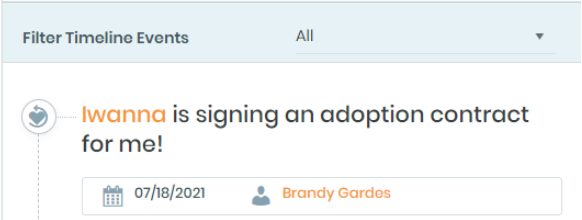
And the Adopter’s Time Line will show:
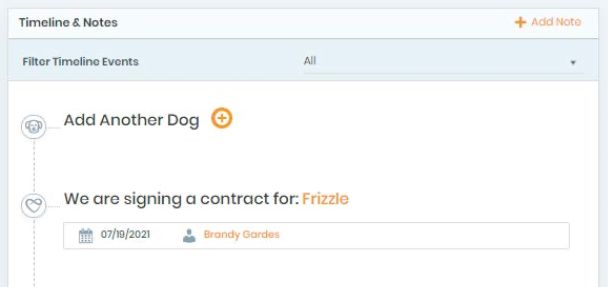
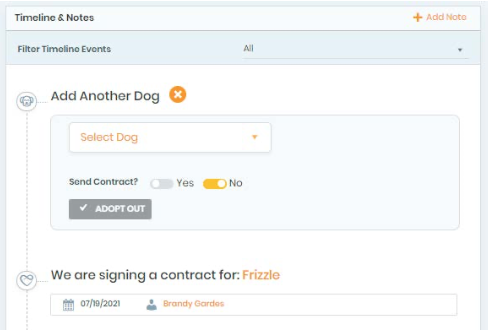
- If the Adopter is adopting a second dog (either now or in the future), you can click on the Add Another Dog Icon to bring up a screen which will allow you to send the contract for the second (or third or fourth) dog.
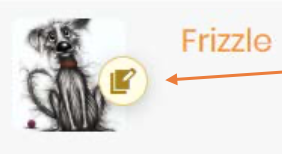
- Back on the dog roster, a little icon will appear on the dog’s picture like this:
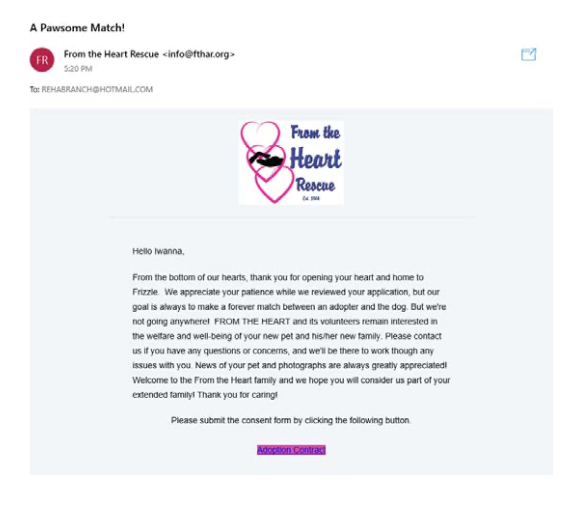
- Meanwhile, the adopter will get the email you sent with a link to the Adoption Contract which will look something like this (but with your branding and logo):
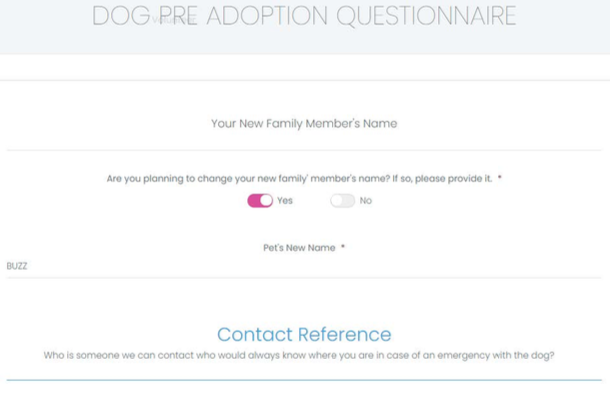
While you sit back and relax with the time you’ve saved; the adopter only needs to click on the link to be taken to the Pre-Adoption Questionnaire (if you are using it). Now you might be asking – what the heck is a Pre-Adoption Questionnaire? Have you ever had that instance where an adopted dog was found, and you couldn’t find the owner because they moved and didn’t update their address? Or how about the owner’s changed the name the name of the dog so when you contacted the references trying to find the owner, they didn’t know what you were talking about because Fizzle became Buzz?? Well, this form takes care of that: New name for dog, someone who will always know where the adopter is, the veterinarian’s name and contact info:
- Once they have completed the Pre-Adoption Questionnaire and submitted it, then they will be taken to the Contract your admin has set up. (If not using the Pre-Adoption Questionnaire, the link in the email sent to the adopter will take them directly here.)
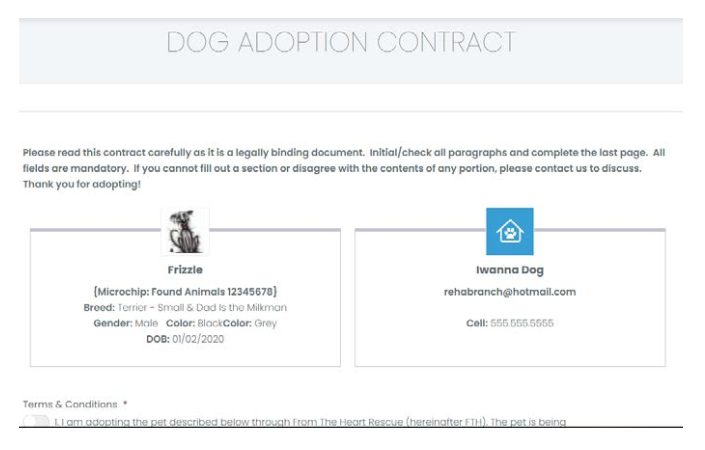
- Once they have clicked all the buttons to fill out the contract and signed it, when they submit it, they are then taken to the Payment Page your admin set up.
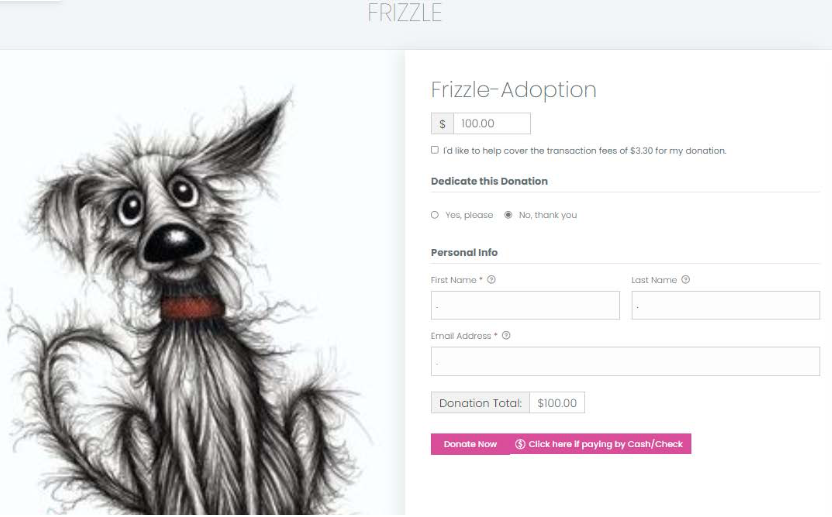
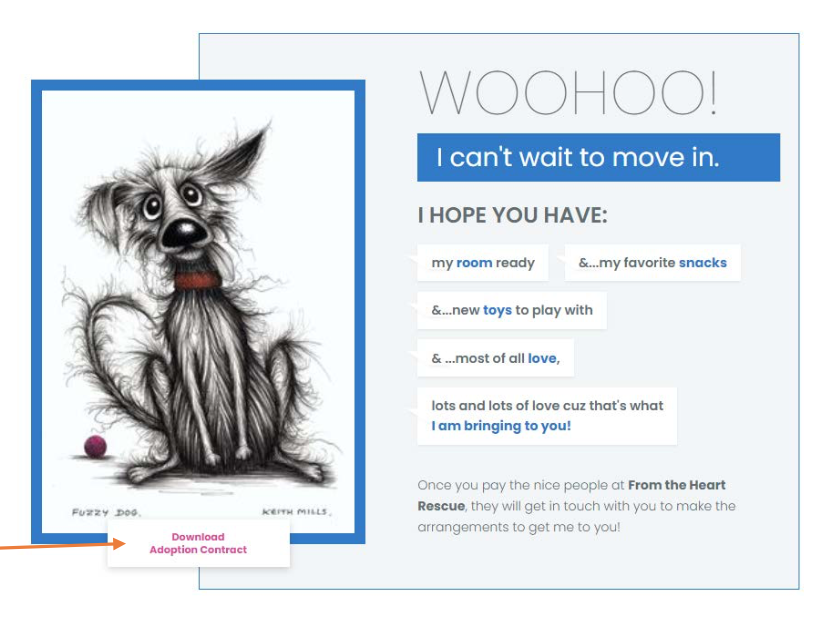
- If they click on the Donate Now button, they will be taken to PayPal to complete the transaction (just like any other donation). If they are going to pay with Cash or Check at the time of the adoption, and they click on that button they bypass PayPal and get the following screen where they can download the contract:
- Meanwhile, back on the platform, the icon on the dog’s picture on the active roster on the website will change from blue to gold because, well, you’re now golden with the adoption!
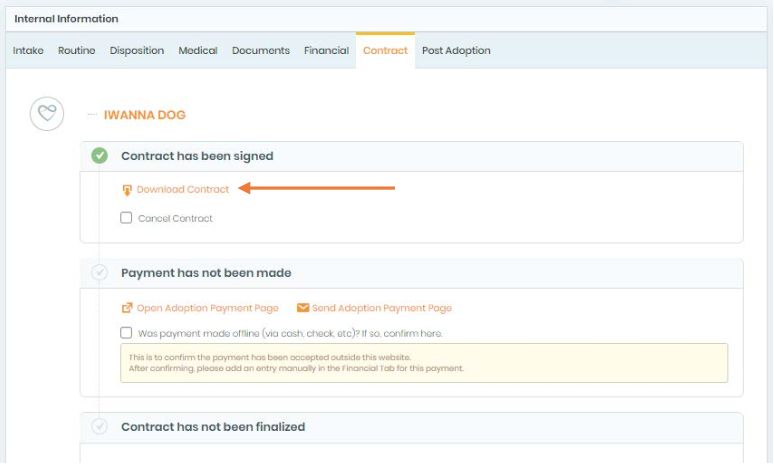
- If you go to the Dog’s page, and click on Contract under Internal Information:
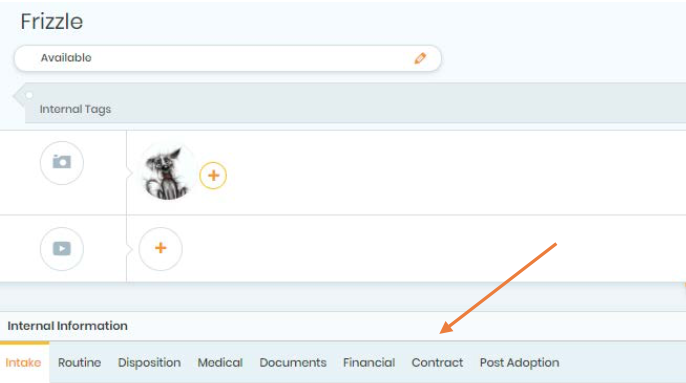
you will get the following under Internal Information showing all the events so far with this adoption and you can download a copy of the contract to review ( and print it if you’re going through paper withdrawal.)
- If the Adopter paid when they filled out the contract, the Payment portion will be filled in and the payment noted in the Financial section of the dog’s record.
If they are paying later, when the time comes for them to pay, there are two ways to note the payment.
- Click on the Open Adoption Page button to go to the Adoption donation page (just like the one they were taken to after submitting the contract) and they can fill it out on your computer, tablet or phone for an online payment; or you can send them the link to the Payment Page.
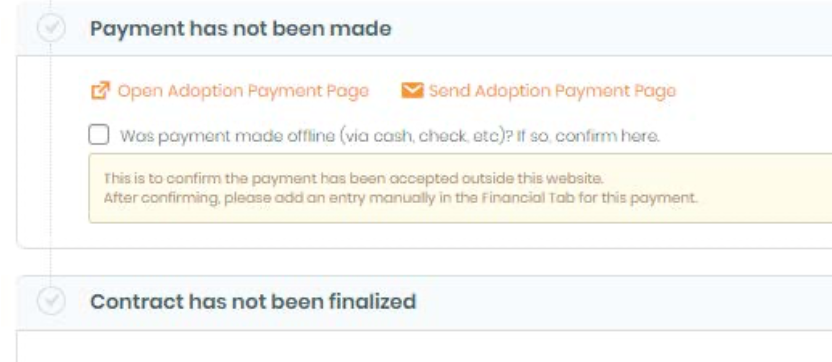
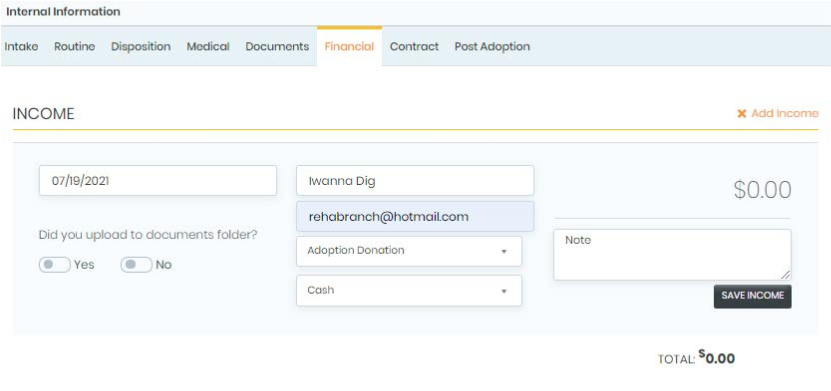
- If they pay with cash, check or their first born, click the box that says payment was made offline. (You will manually have to fill in the information on the Financial Tab for this payment and click Save Income if you are tracking income & expense for each dog.)
- Click on the Open Adoption Page button to go to the Adoption donation page (just like the one they were taken to after submitting the contract) and they can fill it out on your computer, tablet or phone for an online payment; or you can send them the link to the Payment Page.
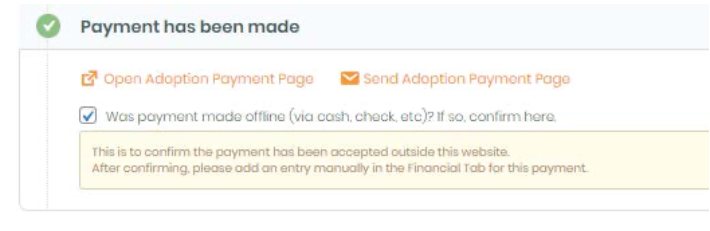
- Either way you do it, the Dog’s Record under the Contract tab will show payment was made.
- So, the adopter has now paid and the dog has left the building! O’ Happy Day! Now it’s time to finalize the contract which will send the dog winging its way to the Happy Tails page!
This feature is also very handy in a Foster to Adopt situation. Just don’t finalize the adoption until the “trial period,” is over. (The dog will remain Pending Adoption on the website, the roster, his page and the adopter’s page.)
So, to finalize the adoption, just fill out the adoption date, where the adoption took place from the drop-down menu and click the Finalize Adoption Now box.
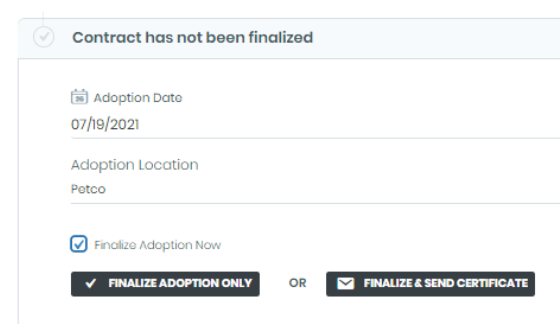
You have two choices here:
- The Finalize Adoption Only completes the process and you are done. The website will send a confirmatory email to the adopter which was set up by your admin.
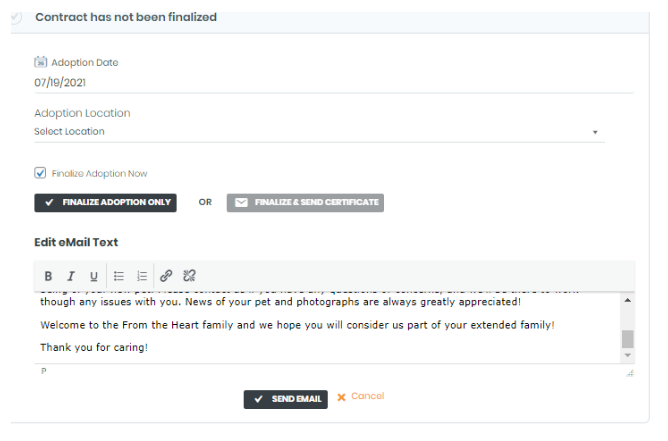
- The Finalize & Send Certificate allows you to send a different email to the adopter from the one set up by your admin. This is particularly handy if you want to send them further information:
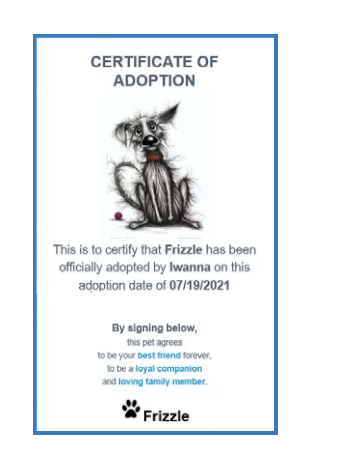
The adopter also gets this cute little certificate via email with the dog’s picture and adoption date:
- Either way, the busy little website wizards have now removed the dog from the active roster and website, moved him to the Happy Tails section, marked him as adopted by the adopter on his page and Time Line, moved the adopter to the adopted section of the adopter roster, marked him as adopted on the Adopter’s Time Line and all you had to do was click a button!
All is now right with the world – at least for the adopter and the adopted dog! But pat yourself on the back for getting a dog adopted without killing any trees!
But wait, there’s more – you want to send medical records and behavior records too? Not a problem! That’s the subject of another cheat sheet — Sending Medical Records! Head on over there and see how easy it now is and you can save a few more trees there too!