

Watch Video
The next step on the website is the Home Visit stage. Okay, so not all rescues do home visits – maybe they wait until the meet and greet or don’t do them at all. Not to worry, your admin can set this up as a reference checks completed or some other stage in the process – but it will always be referred to on the Time Line as the Home Visit stage.
Whatever you decide, once the applicant has moved on to this stage:
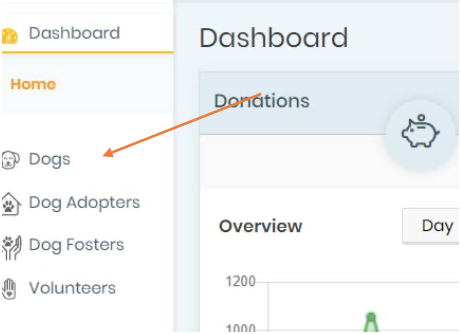
- Log into the back end of your website and then select Dog Adopters:
- The Submitted tab comes up first, so you are going to want to select the Initial Approval tab, since that was the last step done. ), find the application you are wanting to review, then click on it. Once there, select the applicant.
- That will bring up the application.
- In the Time Line & Notes Section, you will have a check box (like the initial approval one) where you can approve, conditionally approve, etc.:
- If the applicant passes this step, then click on the Approved button. Again, if you click on the Send Email button, the text which your admin has set up will come up. You can then edit as you want (are we starting to sound like a broken record? Good! Because it is supposed to be set up for ease of use!)In this example, the rescue has it set up as a reference check approval:
-
Conditional Approval:
Assume during the home visit or reference checks everything is good except that one little pesky item which doesn’t allow you to approve the application at this stage. Maybe it’s a hole in the fence that needs fixing, or the vet tells you that the current dog is overdue for vaccinations, that’s where the Conditional Approval comes in.
- If you select Conditional Approval, you can use the drop-down box to select why (or add a Note). When you click on the Send Email, you can craft an email that lets the applicant know what the problem is and how to fix it.
NOTE: As there are so many reasons for conditional approval, this email usually cannot be set up in advance by your admin – sorry.
- If your Admin has set up numerous emails for conditional approval, you will find them under the Options section.
- For further information on Conditional Approval (or Denying an application) check out the informational sheet associated with that outcome.
- If you select Conditional Approval, you can use the drop-down box to select why (or add a Note). When you click on the Send Email, you can craft an email that lets the applicant know what the problem is and how to fix it.
- If everything looks okay, then click the Send Now button and the email will go on its way to the applicant and by clicking the Update Process button, the applicant’s Time Line will now reflect the stage as approved (or conditionally approved), by whom, any reasons selected and whether the email was sent.
- The application will automatically move to Home Visit Approval:
- The Time Line & Notes section will reflect it passed the Home Visit stage and is awaiting final approval.
HINT: If you ever need to go back to the previous stage(s), just click the pencil icon by the stage you want to check or edit.
- When you’re done viewing (if you made no changes) click the X by the stage name; if you made changes, then click Update process.
You are now done with this stage in the process! Next is the Final Adoption process, so check our informational sheet on Step 3!